How to Make Soy Milk That’s Creamier, Healthier, and Preservative-Free
March 10, 2025
Milk is a central part of any family diet; you use it for coffee, smoothies, creams, and many recipes, and for this reason, it can get boring really fast.
Give your diet and your daily routine a twist with this milk variation that will completely transform the flavor of your food in a more fun and healthy way.
Here, we show you how to make soy milk from scratch with a slow juicer. And we guarantee you it is easier than it sounds!
The Advantages of Making Soy Milk at Home
Soy milk is quite popular, and it can be found pretty much in any store, so why would you trouble yourself by making your own milk?
Making your own soy milk at home will save you money in the long run, is free of additives and chemicals, and it's also way easier to make than you think.
It requires just a few steps, and we promise you that the flavor and nutritional content of this homemade milk is something you can't get from store-bought soy milk cartons.
When you make it at home, you're in complete control of what you put into your body. You just need soybeans and water (and maybe a touch of natural sweetener if you like.)
Why Soy Milk?
Sure, almond, cashew, and oat milk are also good alternatives, and we encourage you to incorporate them into your diet, but soy milk is a nutritional powerhouse!
Soy is a good plant-based protein, essential for building and repairing tissues. It's also naturally low in saturated fat and cholesterol-free, making it a heart-healthy choice for an everyday beverage. Plus, soy contains essential vitamins and minerals like calcium, iron, and potassium.
And we can’t forget the cost! A bag of soybeans is pretty affordable, and it goes a long way. You'll be amazed at how much milk you can produce for a fraction of the store-bought price.
So, what is the fastest, easiest way to make the most nutritious soy milk? Do you need a special machine?
We’ll discuss that below.
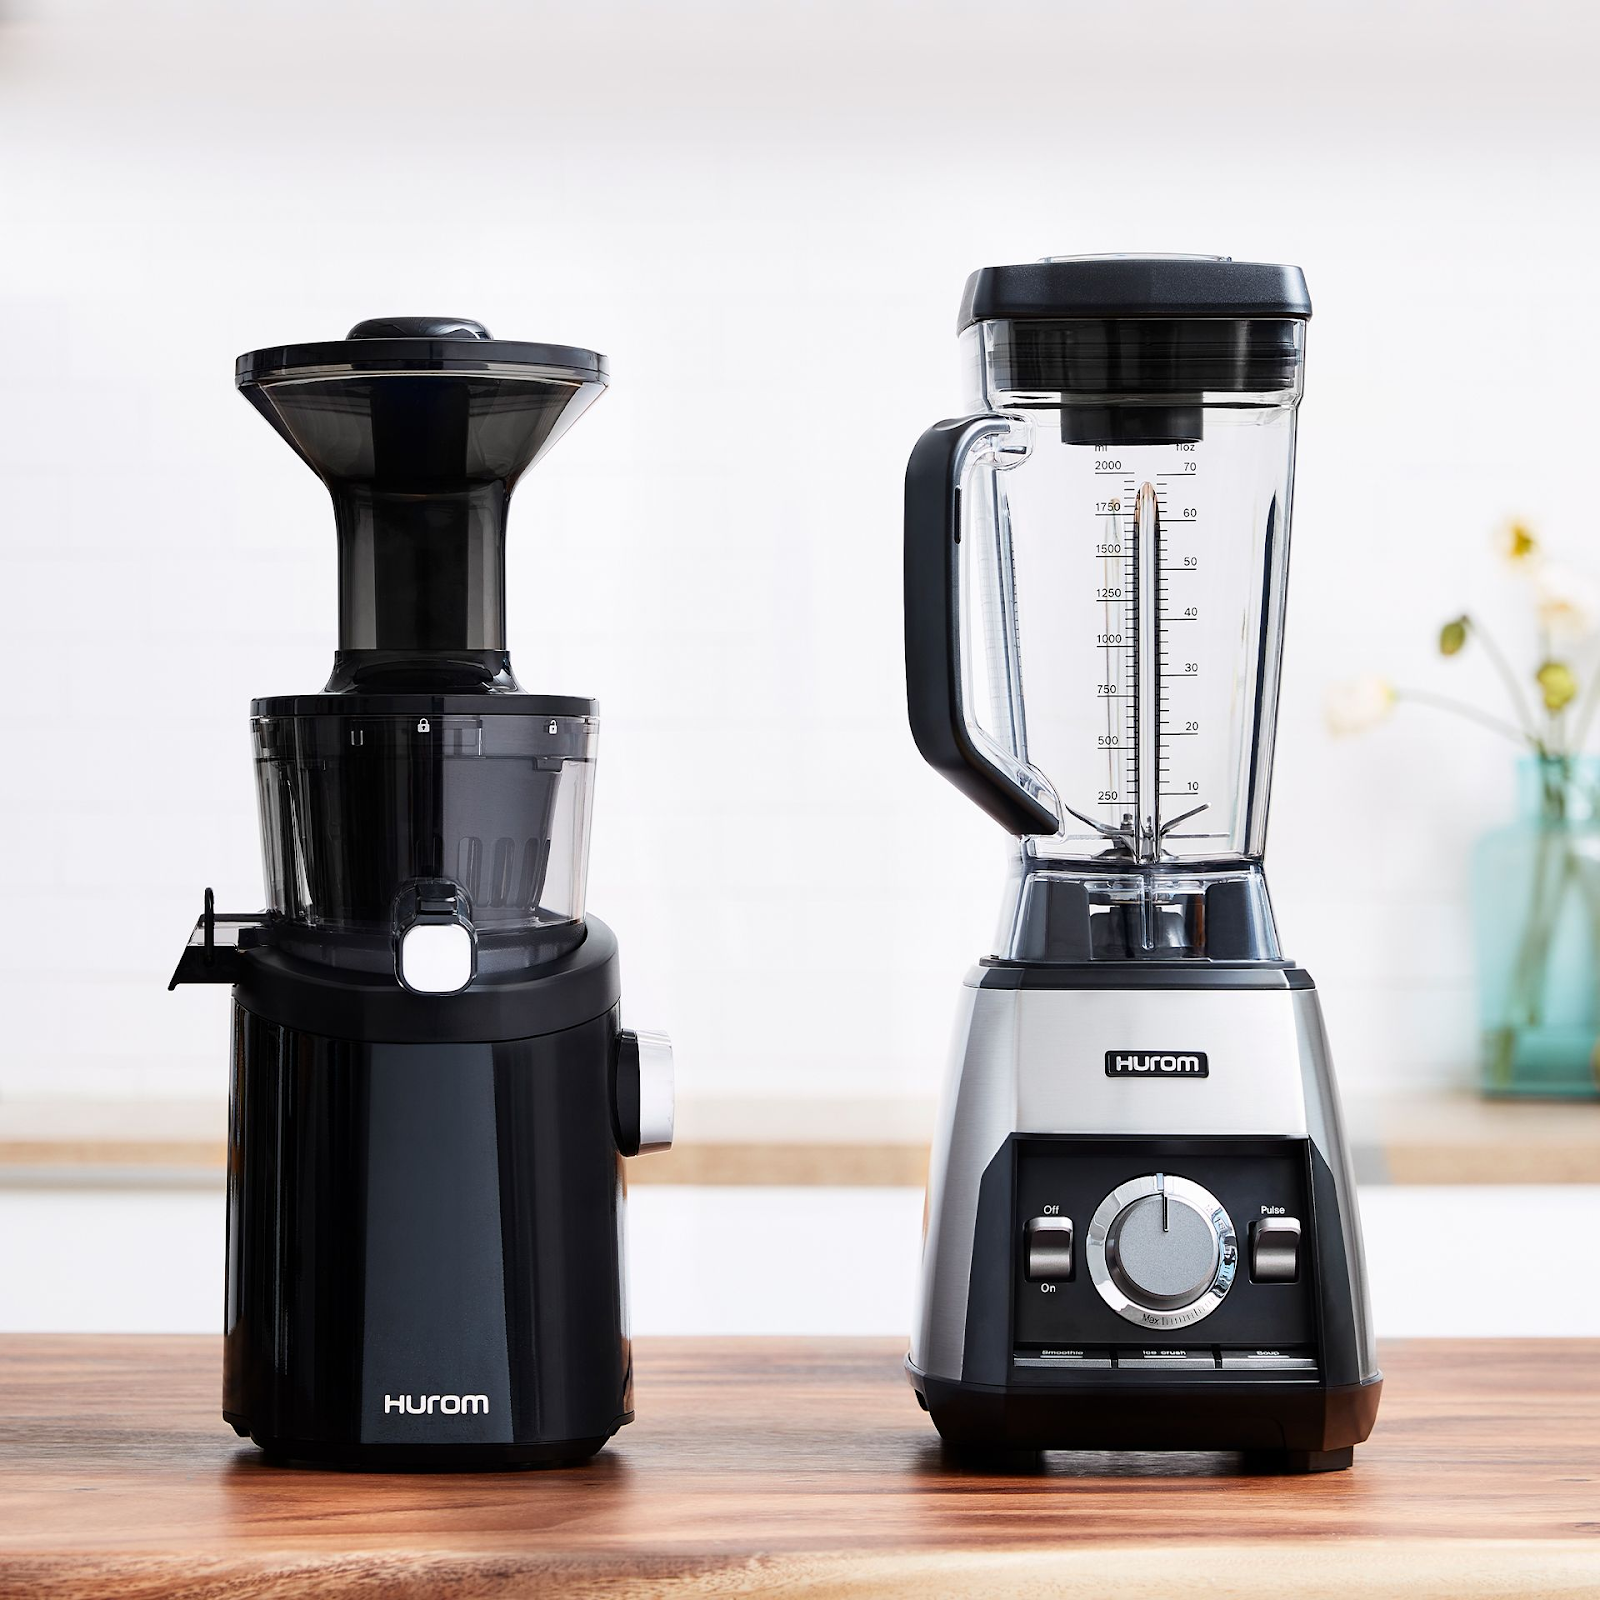
Can I Use a Slow Juicer to Make Soy Milk? Juicer vs. Blender
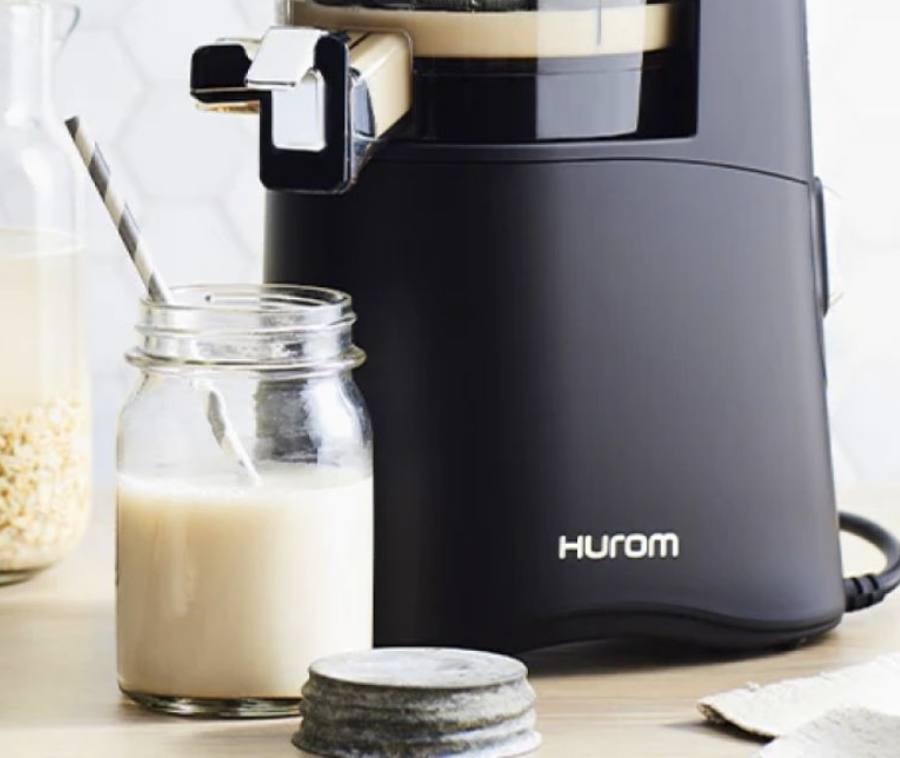
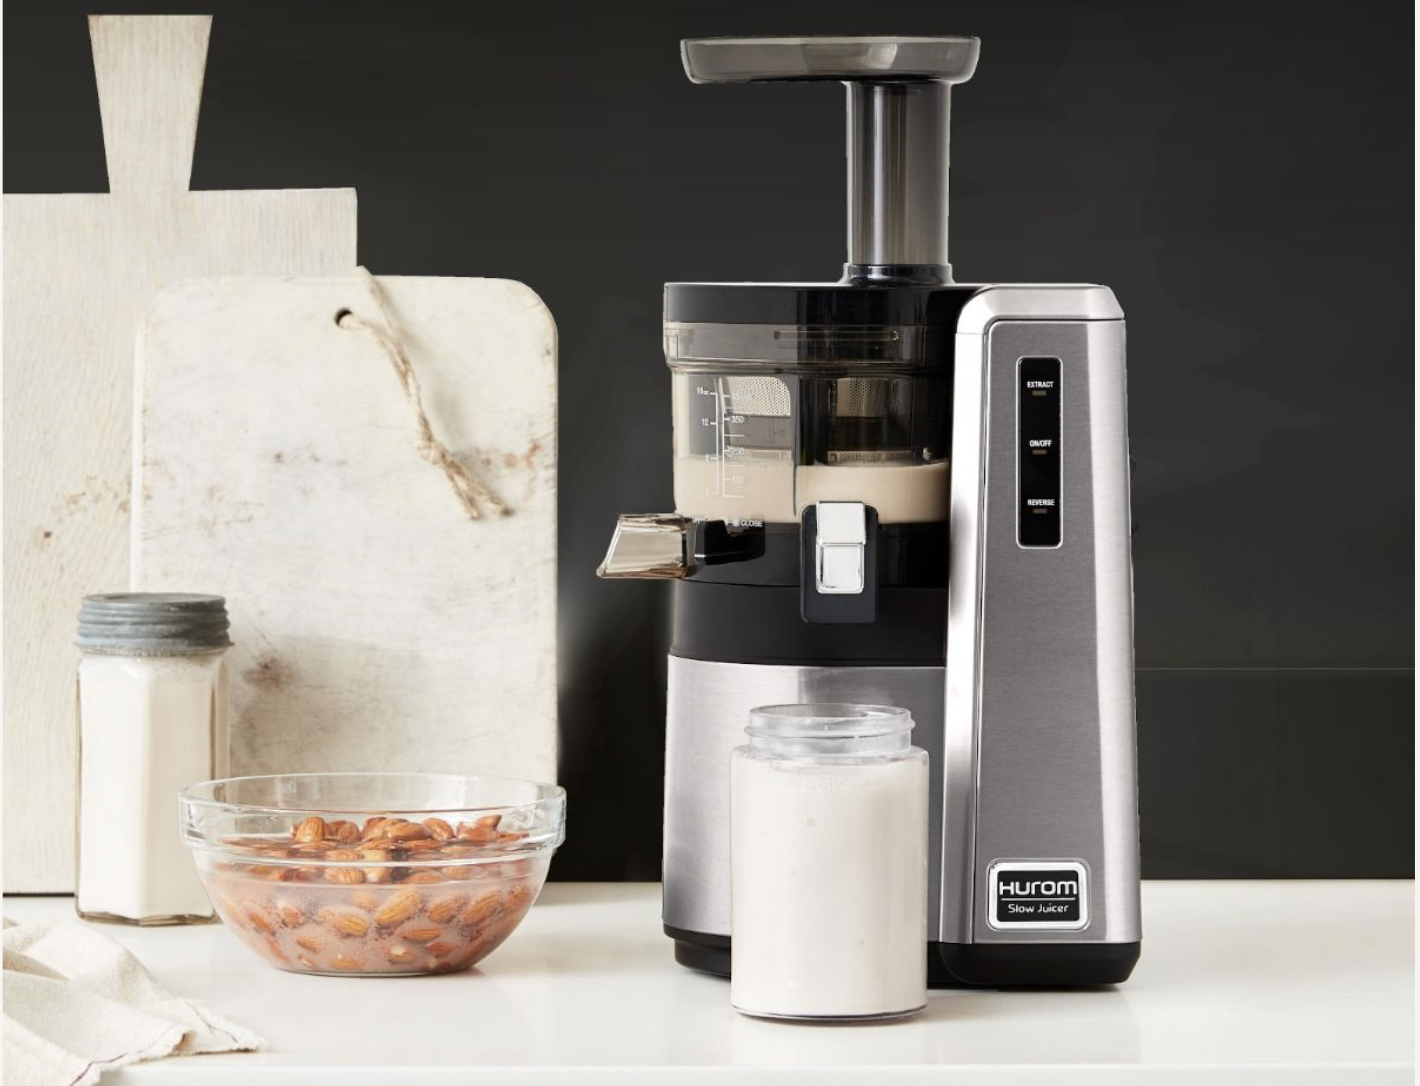
A blender can be good for making soy milk at home, but a slow juicer will be a game changer.
So, let’s start from the beginning: what is a slow juicer, and how does it differentiate from a regular blend? The key difference lies in how they process ingredients. A blender chops and blends everything into a puree, while a slow juicer uses cold press technology to extract liquid, separating the juice from the pulp.
This method has several benefits; for starters, the juicer mimics hand squeezing (that’s why they are commonly known as slow juicers), preventing the heat of regular speed-blades from oxidizing the food. As such, the press retains most, if not all, of the nutrients from your produce.
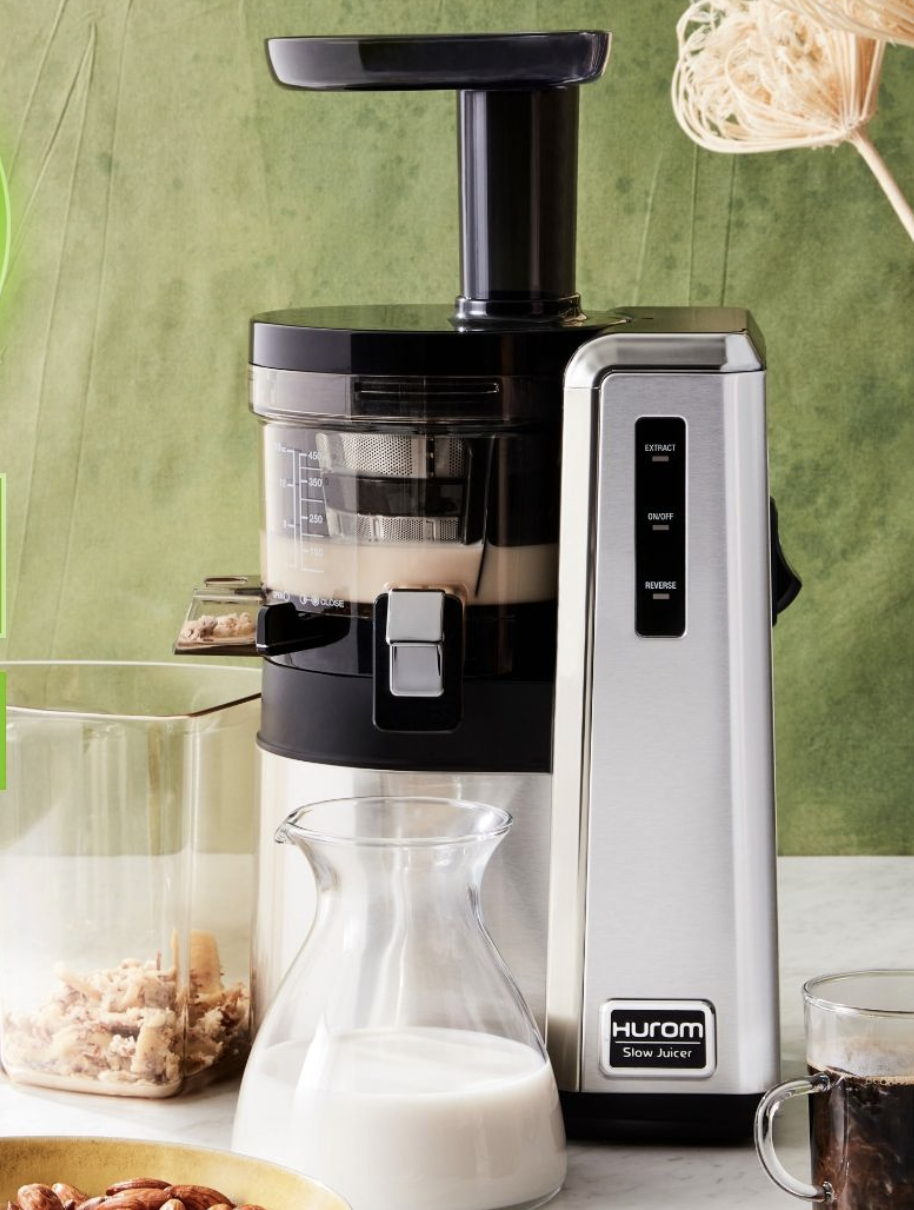
A slow juicer from Hurom makes the milk even more nutritious and takes less time, and you don’t even have to soak the soybeans beforehand.
Besides, you can make much more than soy milk with a Hurom juicer: juices, other nut milk, and even ice creams or soups. This way, you are getting much more than a milk maker.
Lastly, it is worth mentioning that Hurom´s juicers are designed to last decades. They have 15-year warranties, so in the long run, they are worth every penny.
Don’t have a juicer yet? Don’t worry; we will go over both the blender and juicer step by step, so you can see which one’s easier.
Let’s dive into the full homemade soy milk recipe.

Soy Milk Ingredients
This is the list of Ingredients for approximately ½ gallon of soy milk
-
2 cups of dry soybeans
-
4 cups of fresh water
-
Optional sweeteners or flavorings (vanilla, dates, cinnamon, syrups, or Stevia)
Equipment
-
Slow juicer or blender- See recommendations
-
Cheesecloth (optional if you are using a juicer)
-
Bowl or glass milk jar for collecting the milk
How to Make Soy Milk at Home: Slow Juicer Recipe (7-18 Minutes)
This is the fastest and easiest way to make soymilk.
1. Prepare the soybeans: 2 minutes
Usually, when making any soy recipe, you would need to soak your beans for at least 8 hours and preferably overnight, which is just a pain!
When you use a Hurom slow juicer, prep time is reduced to only a few minutes since soaking is no longer necessary.
So, the first step is to rinse your soybeans to give them a good clean and transfer them to an easy-to-pour container.
2. Juice the soybeans: 5 minutes
Turn on your Hurom and slowly add the soybeans in batches, always adding a little bit of water with every batch.
Continue until all soybeans and cups of water are used. Open the juice chamber to release the milk and make space for more soybeans.
Note: you might need additional water if it is too thick.
3. Flavoring your soy milk (Optional): under 1 minute
If you like sweetened milk, this is the perfect time to add a touch of sweetness or spice.
You can mix in cinnamon, vanilla, a dash of nutmeg for warmth, or even a natural sweetener like honey. If you prefer a more neutral taste, you can keep it simple and enjoy it as is.
Keep in mind that you can also add flavors and sweetness in the last step: the simmering phase.
4. Drain through a cheesecloth (optional): 5 minutes
At this point, your milk is ready to be drunk. However, depending on the type of slow juicer you use, the beverage may be grainy and with pulp residue.
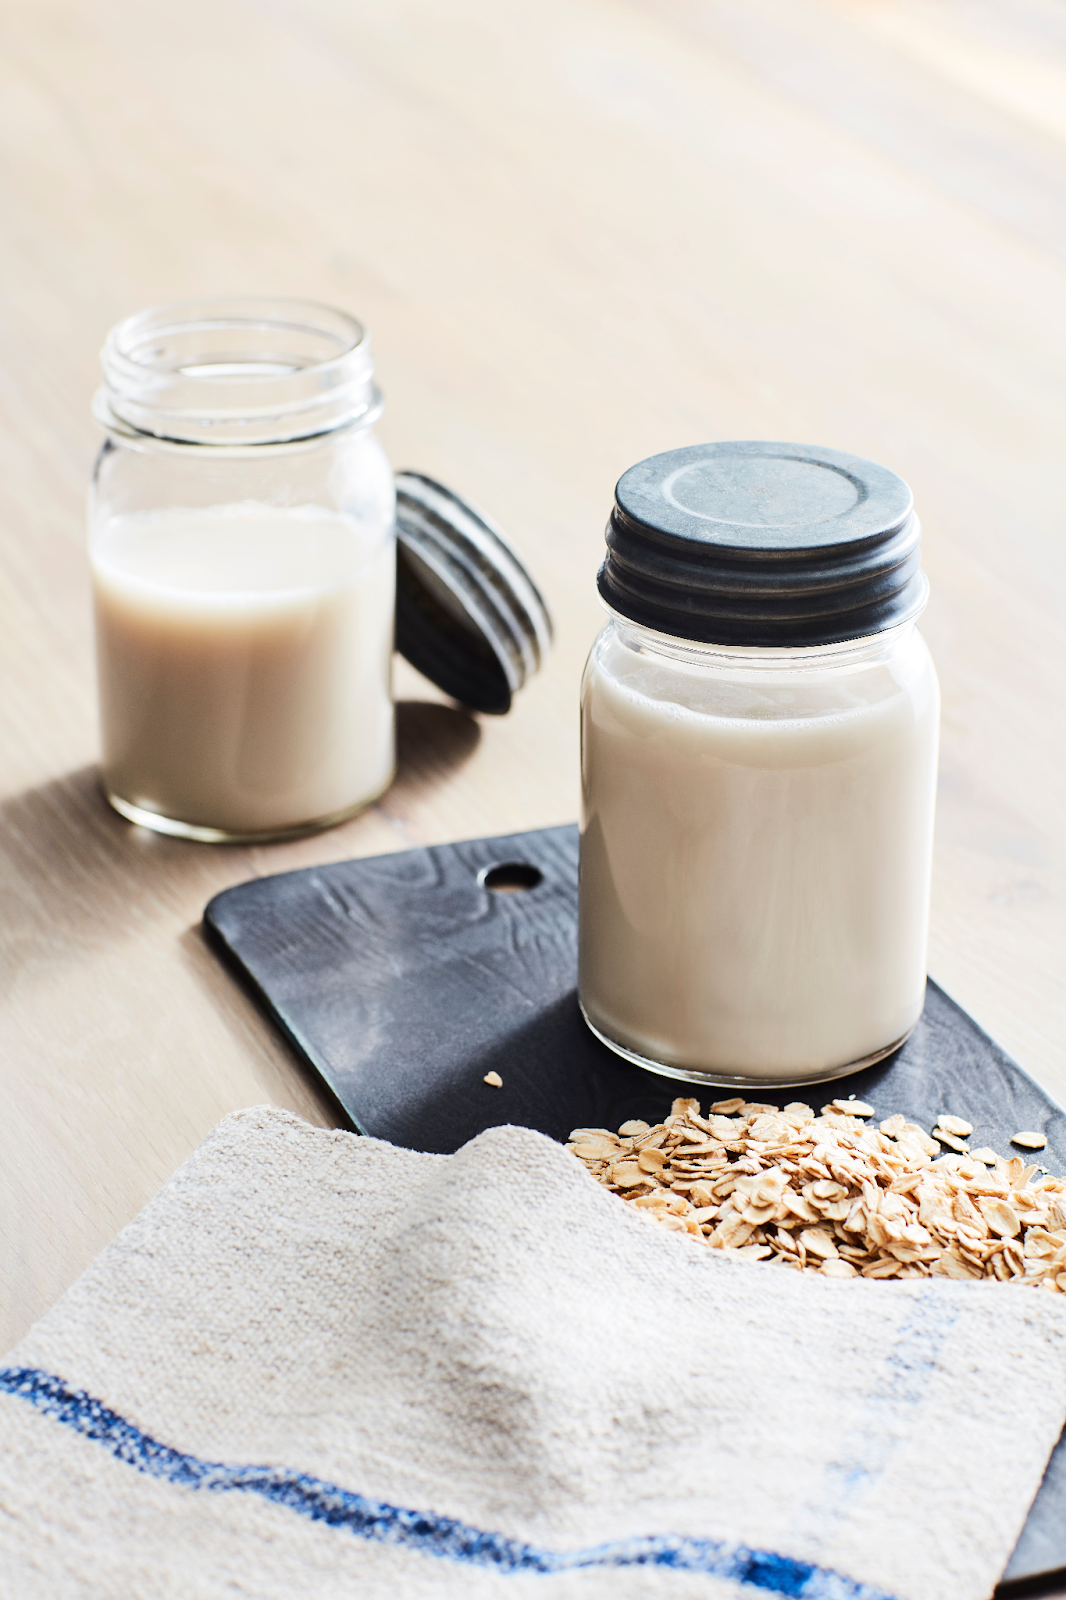
This is good as it is, especially if you like a chunkier, thicker soy milk that’s also great for cooking. However, if you want smooth milk similar to the store-bought ones, this is the time to use a cheesecloth to drain it and remove any residue.
Don’t throw away the pulp from the container – you can use it later for other recipes.
5. Simmer the milk (optional): 5 minutes
Once your plain soy milk is drained, you can consume it as it is: raw soy milk. This being said, you can boil it to combine the flavors and preserve it for a longer time.
Here’s how you do that:
Transfer it to a pot and let it simmer on medium-high heat. This is also the perfect time to further flavor your milk with cinnamon, vanilla bean, or Stevia.
How to Make Soy Milk With a Blender (8+ hours)
Now, let’s see the blender soy milk recipe. While it also has 5 steps, the first one takes longer:
1. Soak your soybeans overnight
Start by rinsing your soybeans to make sure they are clean, then transfer them to a large bowl and cover with cold water. Use a plastic film or lid to seal them and let them soak for 8 hours or overnight.
2. Blend soybeans
Once you have your soybeans soaked, add them to the blender with the water and turn it on high for 2-3 minutes or until everything gets integrated.
3. Flavor your soy milk (Optional)
Now, you can add fruits and nuts to flavor your soy-based smoothie. Good ingredients you can use are dates, bananas, and almonds.
Keep in mind that you can also add flavors and sweetness in the simmering phase.
4. Drain with a cheesecloth
We are almost ready; use a cheesecloth to drain your milk and remove all the soybean residue. Unlike when using a juicer, this step is no longer optional here.
That’s because a blender doesn’t separate the pulp from the liquid like a juicer does—you’ll end up with a thick, gritty texture if you skip this step. Besides, it will also take longer because the blended mixture is denser, and manually straining out the solids requires extra time and effort to achieve a smooth consistency.
Separate the pulp and reserve, and remember that you can reuse that pulp later for other recipes.
5. Simmer the milk
Lastly, transfer the soy milk to a medium-heat pot and let it simmer. This will help preserve the milk better and integrate the flavors.
This is also the perfect time to further flavor your milk with the spices you like best.
How to Store Your Soy Milk?
Now that you have your finished milk, how do you keep it fresh for longer? Proper storage is key to maintaining its flavor and nutritional value.
Soymilk Recommended Storage
The best place to store your homemade soy milk is in the refrigerator. Use an airtight container, preferably glass.
This will help prevent the soy milk from absorbing any odors from other foods. Fill the container as much as possible to prevent air exposure.
Homemade soy milk typically lasts up to 6 days in the refrigerator. While you can freeze your milk, we do not recommend it since texture and flavor can change.
If you still have some leftover milk and you are worried it might go bad, then this bonus recipe is the perfect solution for you.
How To Make Tofu From Soy Milk
Making homemade tofu from scratch is easy enough with a Hurom. However, if you already prepared the soy milk, it becomes even easier.

You’ll just need to heat your milk again and add a coagulant (like gypsum and nigari). Let it boil, and add your mix to a Hurom’s tofu press.
Follow the steps in the video, and don’t let your milk go to waste!
What Can I Do With the Leftover Pulp? Okara Magic
Ok, now let’s talk leftovers! Nobody likes to waste food, and making soy milk often leaves us with a large amount of Okara (AKA soybean pulp).
Okara is packed with fiber, protein, and other beneficial nutrients, and it can be used in a surprising number of ways. It is a good source of plant-based protein, making it a valuable addition to vegetarian and vegan diets.
Okara is relatively low in calories so you can also use it to make healthy snacks to complement your weight loss journey or to increase your fiber intake.
Follow these two innovative recipes and add Okara to create a delicious take on these beloved foods.
Store okara-based foods in an airtight container in the refrigerator for up to 6 days. You can also freeze it for longer storage.
The Best Slow Juicers for Soy Milk
We know that a juicer is an investment in your healthy journey This is why we share with you our top recommendations for slow juicer machines that also make the most creamy, rich, and smooth plant-based milk.
H320 Slow Juicer: More Power and More Milk
The ultimate choice for serious soy milk enthusiasts. Its motor effortlessly processes soybeans, yielding a higher volume of milk and incredibly dry pulp.
H400 Easy Clean Slow Juicer: Batch Juice + Easy Cleaning
The perfect balance between performance and convenience. H400 has a simplified design and a large hopper for batch juicing, which makes it ideal for delicious soy milk. Besides, its Easy Clean Technology means you only need to rinse it under water without the hassle of extensive cleanup.
H310 Easy Clean Slow Juicer: Perfect for Compact Spaces
Designed for compact kitchens without compromising on performance. It's perfect for daily use and smaller-scale soy milk production.
For more info, read our slow juicer guide.
Other Plant-Based Milk Options
Of course, your Hurom isn’t just for juicing—it can handle soy-based products and so much more. Get creative with a variety of alternative milk products, all made fresh at home.
Here are some of our favorite plant and nut milk recipes you can easily make with any Hurom model.
Already got your Hurom? Follow our juicing guide for beginners and delve into a healthier lifestyle.
You Know How to Make Soy Milk! Now Get the Best Out of Your Hurom
Making your own soy milk at home with Hurom Juicer is a step toward a healthier, better you, to a more sustainable, and tastier lifestyle, but it does not have to end there.
We encourage you to experiment with colors and flavors to find many other personalized recipes that you love!
Don’t have a slow juicer? See for yourself why our machines make the best plant-based milk.
Learn about our exclusive offers and get your Hurom juicer today!
FAQs
What to do if the soy milk is too thick?
If your soy milk is too thick, it's usually due to a higher concentration of soybeans. To fix it, add water to your milk while on the stove. Stir well since it typically takes a few seconds for the water to fully integrate with the milk.
What do I do if the soy and the water separate?
Since homemade milk doesn't contain the emulsifiers and chemicals found in commercial brands, separation is more likely to happen. Don’t worry; just keep mixing for a few seconds to integrate again.
How to make soy milk taste better?
If you want a sweeter flavor, you can add fruit to your slow juicer. Or, add honey, maple syrup, cinnamon, or vanilla extract while the milk simmers on the stove.
How to make soy milk from tofu?
We recommend always making milk from soybeans; however, you can use tofu. Add it to your Hurom with a little bit of water, and start juicing away. Add water in small amounts until reaching the desired texture.
Keep in mind that the texture, flavor, and shelf life will differ from traditional soy milk, as tofu contains additional ingredients that can affect the final result.